Followers

Showing posts with label 1:12 scale. Show all posts

Monday, June 16, 2014

Shelve It!

Hi Everybody!

Life should be slowing down in about a week or so. Then I will have more mini time (crossing fingers). I still think of them all of the time even when I can't get to them or blog about them. This post actually took me a week to get up!

I just had to show you this. I have had this idea for a long time. I finally decided to try it. Most of you probably already know about this trick. I wanted shelving and I didn't want to have to do a lot to get them looking right. You know, keep it simple. I also wanted the look of floating shelves with no brackets.

So, I bought some inexpensive microscope slides. The box of 72 came last week. I was anxious to try them out. I had to move everything around in the shops. When I put everything back in place, I know they will look great! Take a look at the shelves all over the place! I only had around 50 slides left within 15 minutes. LOL Perfect! Most of them went into the mall. I did put some in the Chess-taurant, though I really need to fix them better.

Now to order the slide covers for other ideas!

I had to make the pictures somewhat dark in order for you to see the shelves well.
CANDY STORE: I can put so many more goodies here now!
 
MEN'S STORE: Sorry I had to make it dark so you could see them better.
I also put some on the opposite wall


BRIDAL SHOP: The dove on top looks like he is flying, but he is on the glass shelf
 

SHOE STORE: On the upper left you can see more shelving.
 
 
This will be the new,
JEWELRY STORE:  You can be sure there will be shelves there too!

I do have a few tips for using them.

1. Try to keep them vertical while putting the glue on. I used superglue on most surfaces and just let it slide down the side.   After a few tries, you can do it without it getting glue on the flat shelf surface.

2. Remember you can not reposition if you use superglue so get it right the first time. It wouldn't stick on some wallpaper at all.

3. Once you get  superglue on the sticking side surface, you must clean it off well before trying to
 re-glue if it didn't stick the first time. It just won't stick to itself and the other surface.

4. Make sure the side you are gluing is flush against the wall so it won't be slanted when dried.


                                               Click on picture for a larger view


Wednesday, May 21, 2014

My Kind of Town III, Artist Highlight and Bedroom Update!

 
I am sorry I have been absent for so long. Real Life is trying to be the boss of me! Nothing bad...just busy. :-) Things are still a little hectic around here. Because I have so much to share and so little time right now, there are going to be three segments to this post.  So grab a cup of coffee or whatever your poison and enjoy!

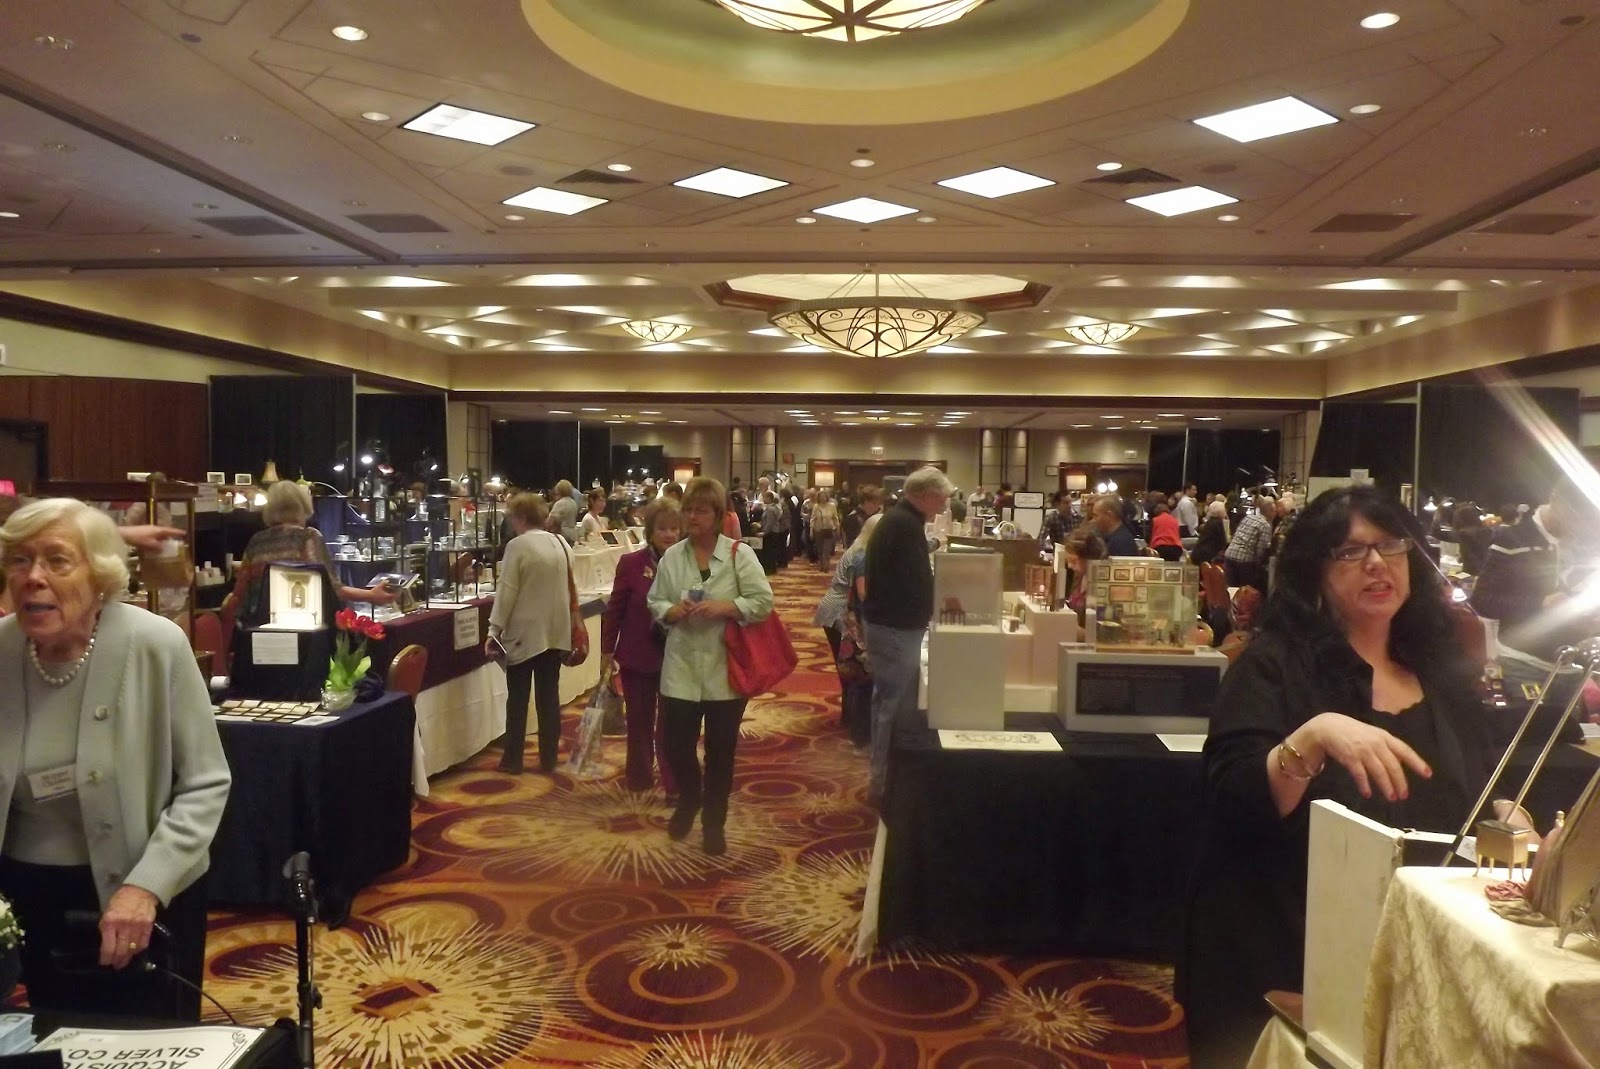
This is the view from the plane about to land at home. Chicago was fun!  I was happy from the show and happy to be getting home! I was so worn out!
 
 
I thought I would show you an update on the "Chess-taurant" along with more purchases from Chicago. I bought the chairs from the Heidi Ott dealer. I love the way my Heidi Ott doll fits in it. The two soda taps, napkin holder and milkshake maker were all bought there.


These chairs are Heidi Ott chairs. See how perfectly my Heidi Ott doll looks sitting on one? I wish I had bought more than eight!


These are for my Chess-taurant too. They were bought from various dealers from both shows.

More on that soon!

An Heidi Ott hat that fits my doll perfectly


*********************

Please visit this Etsy store to see the absolutely gorgeous mini quilts. All are handmade! I was so sure I took pictures of them.
Tracy and her hubby were so friendly. It was great meeting them! I know you hear this all of the time, but believe me, these pictures don't do her work justice! https://www.etsy.com/shop/AngelsRestCreations?section_id=14780194


I could not leave out this artist. Her dolls are even more realistic then they look in pictures. Elle is such a lovely lady. It was a real pleasure meeting and laughing with her and her better half! Her website is currently under construction. Please keep trying. She makes custom dolls of people you love! What a great gift for a loved one!  http://www.ellepiccolodolls.com/ Her email is epartdol@hotmail.com


There was a working TV in one of the roomboxes! (I think it may have been a phone and DVD player like I saw in a blog once :-)  I can't find the picture of it (maybe I didn't take one lol) At any rate it was amazing! I know someone who might have pictures. I will share if I get them.
 
  
*ARTIST HIGHLIGHT! *

There is a lady whose work always makes me reflect. For me, miniature scenes are a lot about how they make me feel. Mood is a large part of the scene because everything must be known about it without any words. I use words like mystery and secrets when I describe her works. They are the kind that make you stare and make up stories about who just left and more importantly...who is coming back!

I must say this also. Elizabeth at Studio E is more than an artist. Her warmth as a person comes through her encouraging, sincere comments and humor. Her presence, on my blog, or her own shows her to be a miniaturist you want to be around and always glad she is there. Somehow she seems to see the best in every blogger and their work! Even when she gives loving advice.

When I highlight an Artist, I like to say how they have affected me. I wanted to make nice window dressings, but they would never come out right.  After Elizabeth gave her tutorial on using the pretty pleater,  I have been having fun making all sorts of curtains (I have three sizes of pleaters)! The two curtains below were made using her tutorial. I was even able  to use synthetic fabrics!
THANKS ELIZABETH!

Please stop by her blog and make up your own stories with her mood stimulating rooms.
http://studioeminiatures.blogspot.com/


  Here are a few things I have been up to lately...


Looking for a few accent colors to break up the matchy matchy. Probably some pillows, wall accent or the dust ruffle etc. I still need to adjust those hanging lamps, Arrrg!

This was originally either a napkin or placemat. I really like it. Wish there had been two of them. 
 
That wall area behind Nyla's head needs something. I am just not sure what. Thought about shelving, hooks with bathrobes hanging from them, a mirror or a bookcase. I don't know. hmmm  I even tried moving the "love" poster to that spot. No go.

  Also to come is the door frame that I forgot. I changed the mirror that came with the vanity. It was  Art Deco and didn't fit well. I am really excited about the chairs! The color is just right and they fit well with the vanity


The red on the back is really from the rug behind it.


You know, I really like this guy. He is just so hard to pose!


I like to make my family part of the process. My daughter and her daughter thought this magnet should go in here. So in it went!
If I had two placemats/napkins I would have been able to make the draperies longer. I wanted them to match the bed so I had to make the short version. I got a lot of glue on them so I will be doing something about that too. I was just too tired to take it apart and fix it. (These were made using the Studio E tutorial)


The table was cream. I painted it black and gold to match the decor.
 
 Hope you enjoyed it all!

Click on pictures for a larger view

Saturday, May 3, 2014

My Kind of Town II!


This is how I felt during and after leaving
                          Chicago!


This is just one of the three rooms and a long hall area lined with goodies at the Tom Bishop Show! Can you tell how far back it goes?
 There were three filled smaller rooms at the Linda Frye Show at another location
Look for the creators of this house at: TheLittle Dollhouse Company


This house was huge!

This is just to show the extensive electrical set up
 
What is so cool is all of his electrical parts are in the wooden compartment at the bottom. Those are real bricks!


The general store on the left was sold when I saw it. If I told you how much it went for I would have to use smelling salts to re-awaken you! lol


That is not the creator. Seems someone was always engaging him and
 I never got a picture of him. These two are by the same artist. Make sure you read the sign in the lower right for contributors


These sweet babies were created by Helga Sadowski of Germany
www.miniaturen-sadowski.de
ADORABLE!
Yes, her finger is in there. HAHA!


Anybody recognize  Karen? 
http://www.dollshouse.tv/programmes_searched.asp?skill=0&product=&presenter=55&searchbox=&Submit=Go? Click here to find out who she is!
Here are some of the things I purchased.  I was anxious to use some things so they are not here. I will have to tell about those in part III
Those are pillows on the left! Can you see the tiaras?
 
Heidi Ott shoes that actually fit my girls! Boots for my guys. Heidi Ott's son was actually the one selling them!

Unrolls to beautiful hair.
 I bought several more colors, but playing with them with my girls.

 
UPDATE!
If you look closely you can see the beak on the right.
This is where we are now! When my grands told me about it they said one egg, when I ran out and took pictures there were two eggs...now how...? It was so cute. It stretched open its mouth when I came. I guess it thought I was its mommy. I tried to get him to do it again for the camera, but I guess he was either tired or disappointed. lol There are two red colored birds that are always in that tree and squawk then fly away when I come. Are they the parents of one or all of these!  Hmmm

While I was outside taking pictures of my goodies...this guy showed up!


Saturday, April 19, 2014

Mini Humor

Got back from the Tom Bishop Chicago International Doll Show and the same night got grands for spring break. I am exhausted. Here is something to laugh at while I regroup. Be back with tales of the show, another artist highlight and what I have been up to.
Grandmommy
Enjoy!


 More funny stuff :-)
http://www.virtualdollhouse.net/Service/Fun%20Stuff.htm#Definitions
Then scroll up.


Sunday, April 6, 2014

Mastering The Bedroom

 I worked on the "big house" a little more and sharing my progress with you. My goal is to get it completely decorated inside and out so I can set up the landscaping at least by the end of the year. Hopefully sooner. Because I have so much mini stuff, I want to see how much I can get done on all of my projects using what I have on hand without buying too much more. Also, because I have multiple projects going at once, things take me a little longer sometimes.
 
This is the master bedroom. Maybe one day if I get enough nerve to add an addition to the house this will become a master suite.
 
The picture over the bed will be framed once the right one is either made or shows up. It is just taped up temporarily.
 
If I can find something that resembles a vanity table in my stash, it will be added in there. Otherwise a dresser with a nice mirror will do. I need a place to put some of the nice perfume bottles and cosmetic jars I have already made.
 
I ran a pretty magnet, I planned to use as a poster, across my daughter and granddaughter for their opinion. They both loved it so expect to see it on one of the walls also. :-) A little paint touch up, nice window treatment and we will be good to go!

This room should be finished by the end of the week. I will share with you then.
Almost there!

Both lights work. The pictures in the foreground will go up after the window treatment is added.
Why not use living room tables in the bedroom? I think they work just fine.
The hanging lamps are made from beaded napkin rings!
These are earrings that will be fitted someplace in the room. I stumbled across the jewelry pieces that attached it all to the ceiling while looking for something else lol!
These lights are great for all sorts of things! Watch how they are used here.
The lamp harp cut out and ready for fitting

Re-fitting to the right size

Hole for the loop in the light is made with a hole punch. You can see the thin wire on the top left which was threaded through the top loop of the light and twisted. Then, the wire was threaded through a straw to help keep it straight (next time I will use a thicker wire inside the straws) and it all was hot glued to the ceiling. They got a little crooked during  the photo shoot

Still deciding on side chairs. 
The choice of vanity/dresser will determine the right chair
Those are area rugs on either side of the bed. They make it look like the bedspread is sort of   draping and too big for the bed in this picture


Click on pictures for a larger view

Sunday, March 23, 2014

Artist Highlight And Eat Something Off Your Chess!

It is the week after Mardi Gras when everything has finally settled down. In the morning, I stood on the balcony overlooking the courtyard and thinking of the fun and friends of the week before. Later, at night, I  slowly stroll the courtyard enjoying the quiet and sweet fresh air.

But wait...is that a stranger lurking just outside?

What am I talking about? Go to: http://jocelynsdollhouse.blogspot.com/2014_02_01_archive.html and see Jocelyn's New Orleans Creole Townhouse. It is beautiful! It is sentimental! It is true to life! As with all of her work, it is also very detailed.

For some reason, I imagine Jocelyn working quietly on her projects with her hand tools and pencil sketches. As a matter of fact, because of her, I now try drawing things out to get a clear idea of what would work in my future projects.

I find her to be a consummate, professional artist and have seen her perform magic with the same things I have sitting in storage containers waiting for a purpose!

Make sure you look at ALL of the posts about the townhouse to find out why it is sentimental!

And check out her other wonderful projects while you are there!
ENJOY!
 
This is actually the first project that I sketched out as a result of seeing how Jocelyn does it. This is something I work on while I order parts or wait for other projects to dry. It is a Chess themed restaurant that I am building from scratch. It is the first dollhouse project for which I used the Woodworker's Guild machines.
The mirror leaning on the rear wall will be behind the bar that serves healthy snacks, smoothies and such. It will be a place where you can either play chess, participate in tournaments on certain nights or just watch and /or eat. Also, look for posted notices of live entertainment performing on other nights. 
(sorry for the dark pictures...I will try to get better ones as I progress)
 
 
Just a close up of the wallpaper
 
The table tops are actually coasters.
The floor is a real life  sized linoleum tile. I will make the slit on the right unnoticeable
 
I had to replace some legs so they will be repainted
 
The two rectangles on the back wall are door frames for the men's and women's restrooms
The bar will go between them


Click on picture for a larger view

Sunday, March 16, 2014

Digital Playspace-3D Printing through Digital Dollhouse...HUH?

I stumbled across this recently.  Three dimensional printing is still very expensive. Yet, I wonder if this will really take off and be the way we decorate our mini houses in the future? Something like this could make artisans and specialty crafters either obsolete or drive up the costs of handmade articles.

Would you use something like this if it were affordable?

            )

Click on picture for a larger view

Thursday, February 13, 2014

For My Barbie-Lover Friends (sorry about three blank posts!)

 
I happen to run across an article about Barbie recently. She is one controversial gal who has gone through many changes over the years.

For some reason Barbie sales are down 13%! The adult market is unaccounted for. The article refers to parent consumers. Perhaps sales would increase if they made some of the changes adult collectors suggest! 

After listening to the song in the first commercial, I can understand why some shoppers would be concerned about the image that is portrayed for little girls... "really me? Petite?" Maybe, just maybe they should market to big girls and big boys a little harder! :-)

  Read further about Barbie's future with Sports Illustrated and a lot about her past and let me know what you think? Just what is your opinion on these Barbie topics?

 Let's start with her first commercial shown during the Mickey Mouse Club in 1959.

The words in the commercial which talk
about her purpose was really thought provoking!
 
Main Entry Image
 Coming soon!
 
Barbie and Ken

 This is a depiction of how she and Ken might look today if she aged like the rest of us.


Is the one on the right the way Barbie should really look? Would you buy her?

View image on Twitter
 Through all of her controversy she remains "unapologetic"
 GO BARBIE!